Generating Google Maps API Key and Map ID
This tutorial will guide you through the process of generating a Google Maps API key with specific APIs enabled and domain restrictions. Additionally, you will create a Map ID in the Google Cloud Console. This is necessary for the proper operation of the Chauffeur Taxi Booking System.
Google Maps APIs come with a free monthly usage limit, which covers most standard use cases. If your usage exceeds this limit, additional charges may apply. You can review the latest pricing details on the Google Maps Platform Pricing Page. To keep track of your usage, you can set up billing alerts in the Google Cloud Console, ensuring you stay within your budget and receive notifications when approaching the free tier limits.
Important!
Never reveal your Google Maps API key and limit its use to the domain to avoid additional operational costs. More on domain restriction later in this guide.
Create a Google Cloud Project
- Go to the Google Cloud Console at https://console.cloud.google.com/ (if you are not logged in, Google will prompt you to log in).
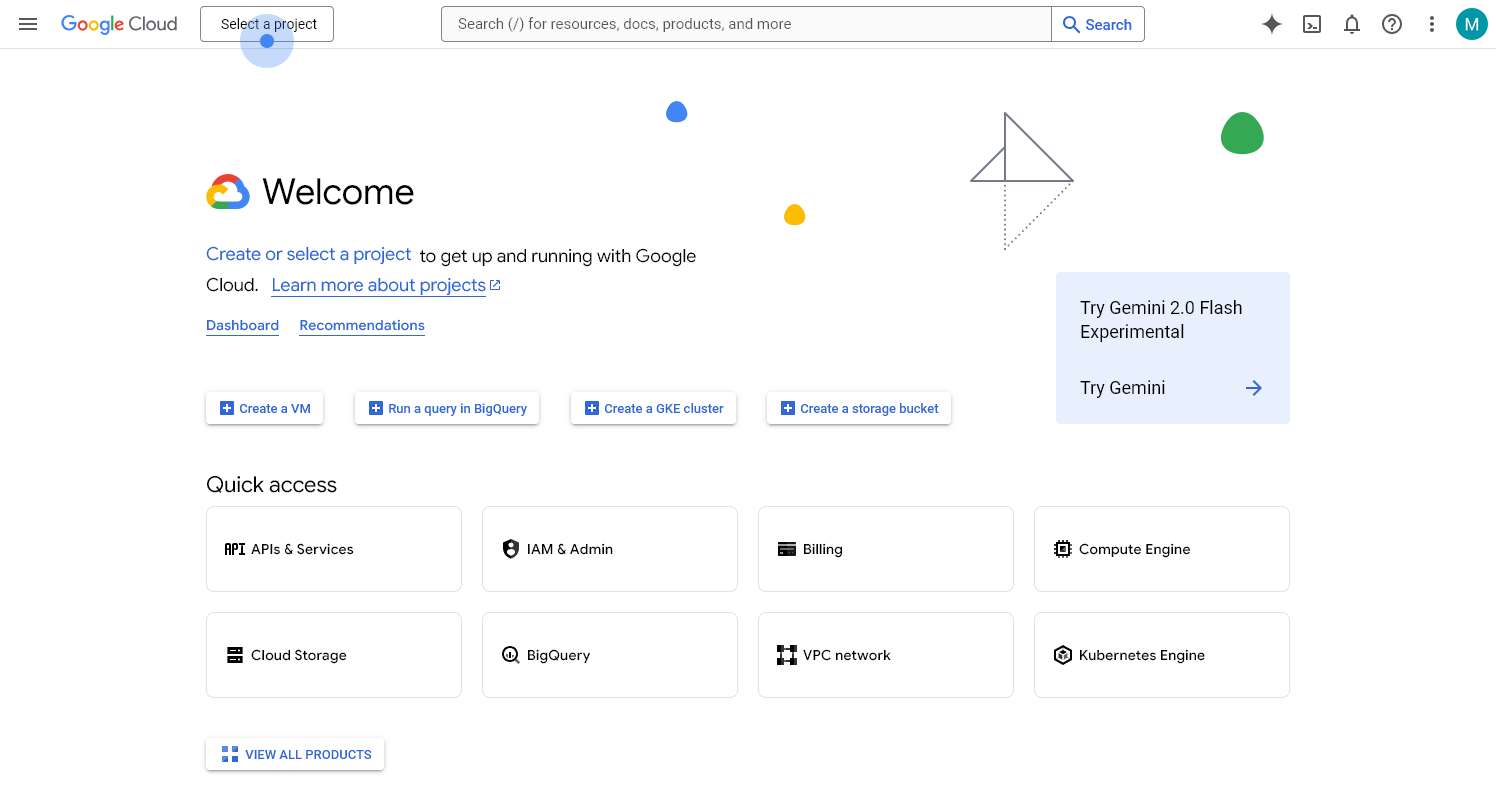
- Click the ‘Select a project’ dropdown at the top – See screenshot.
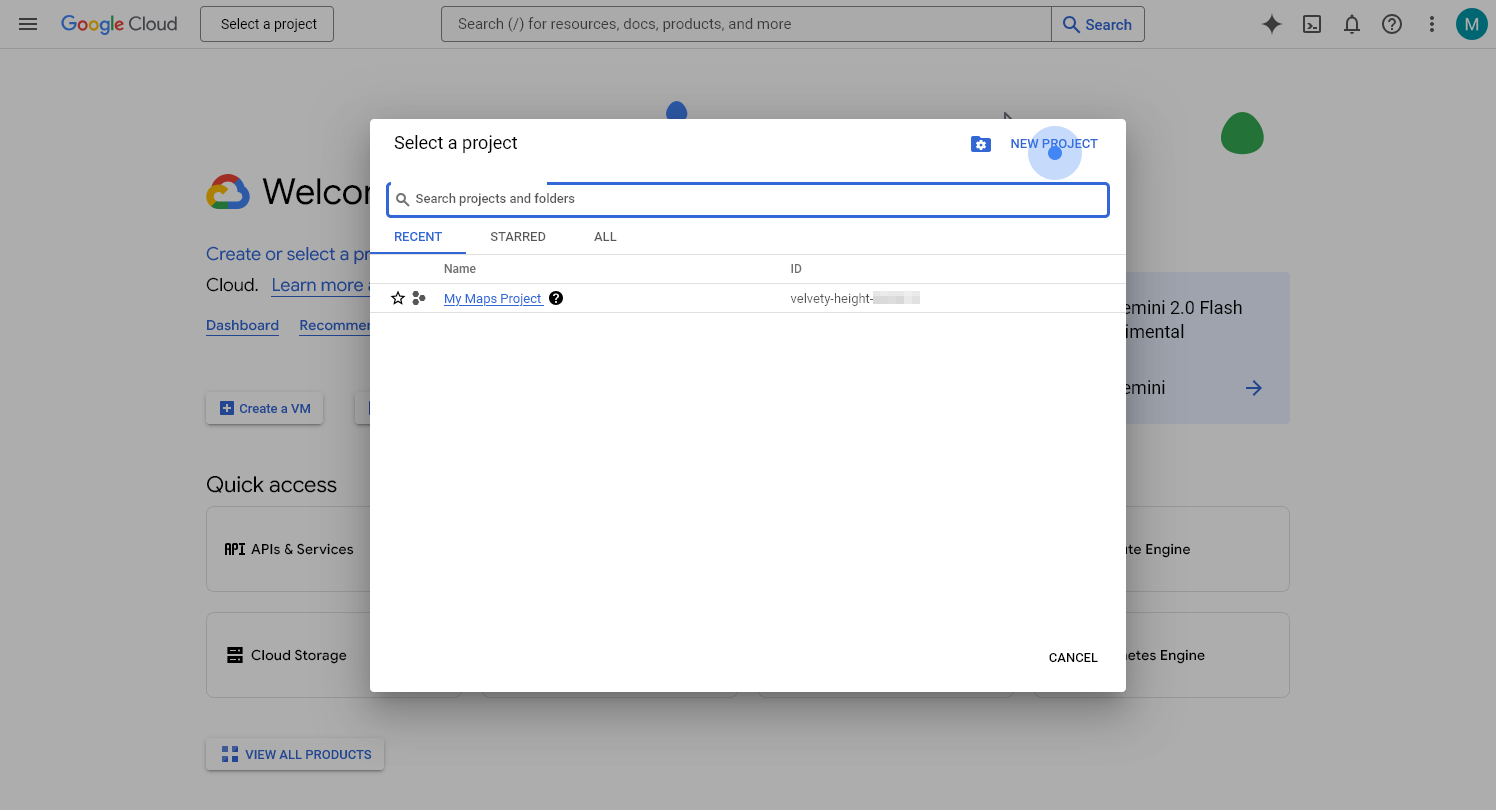
- Click ‘New Project’ – See screenshot.
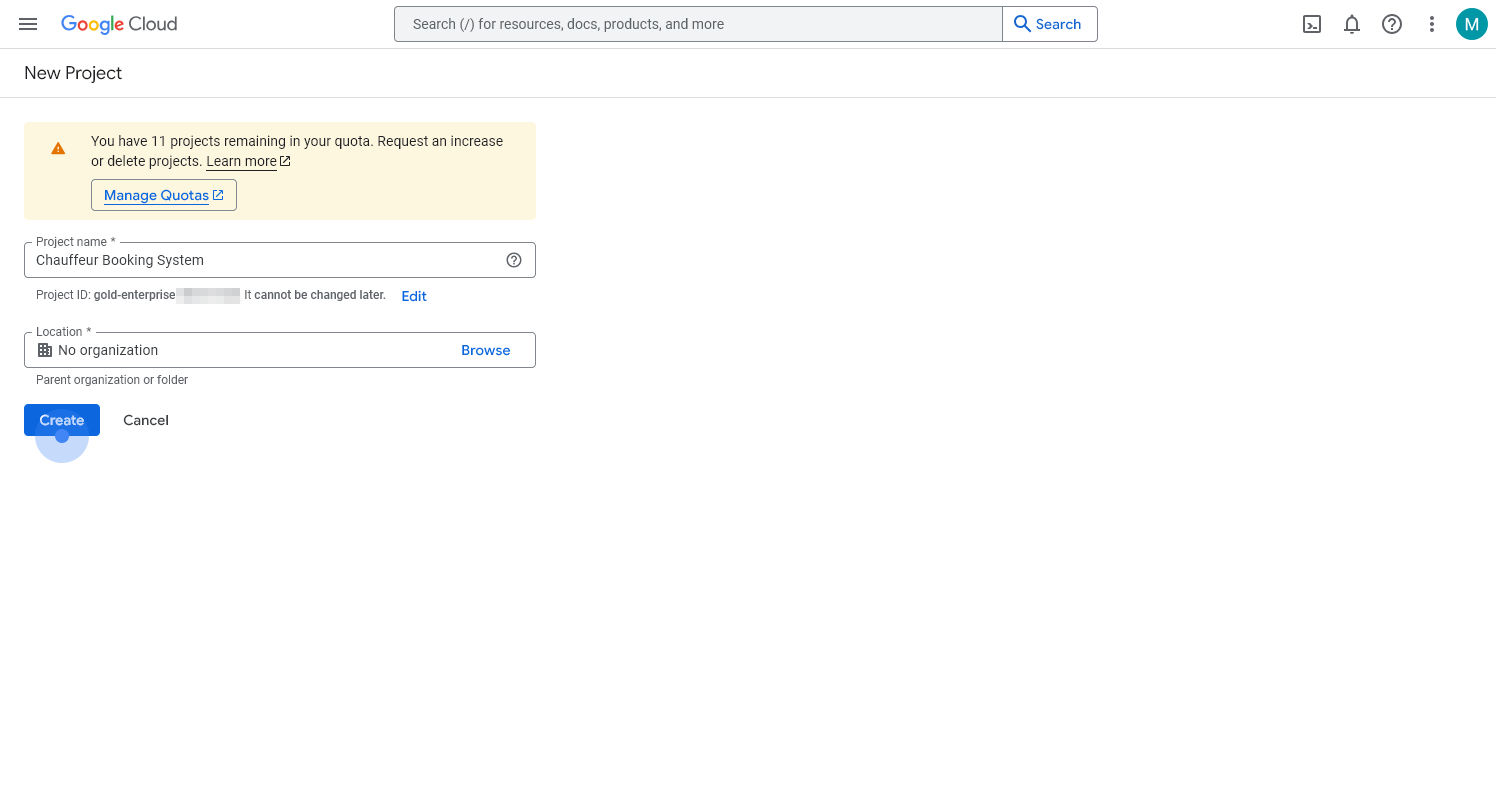
- Enter a ‘Project Name’.
- Click ‘Create’ – See screenshot.
Enable the Required APIs
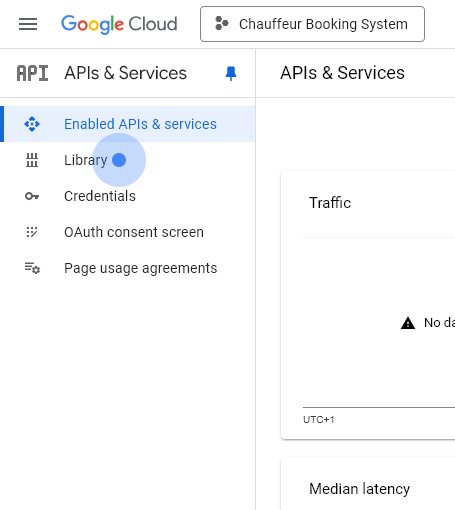
- In the Google Cloud Console, go to ‘APIs & Services’ -> ‘Library’ – See screenshot, See screenshot.
- Use the search bar to find and enable the following APIs:
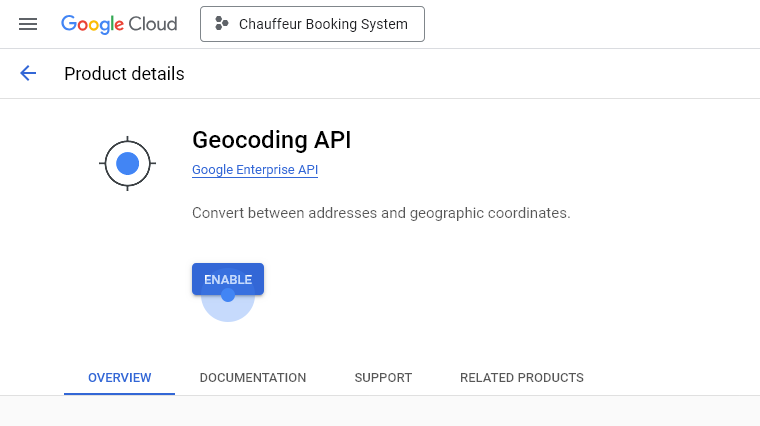
- Geocoding API – See screenshot.
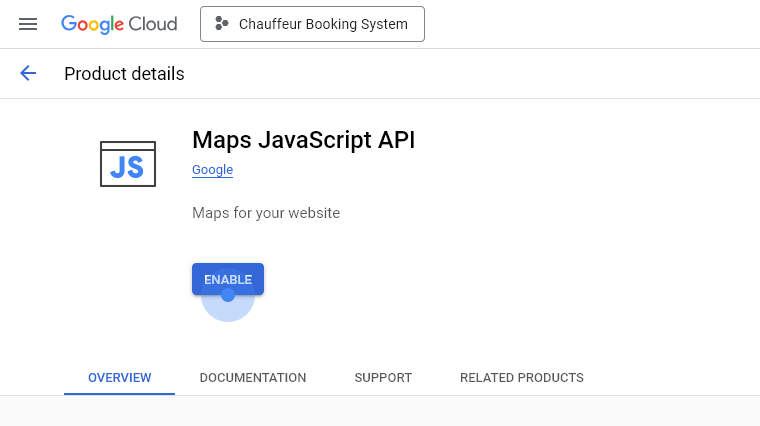
- Maps JavaScript API – See screenshot.
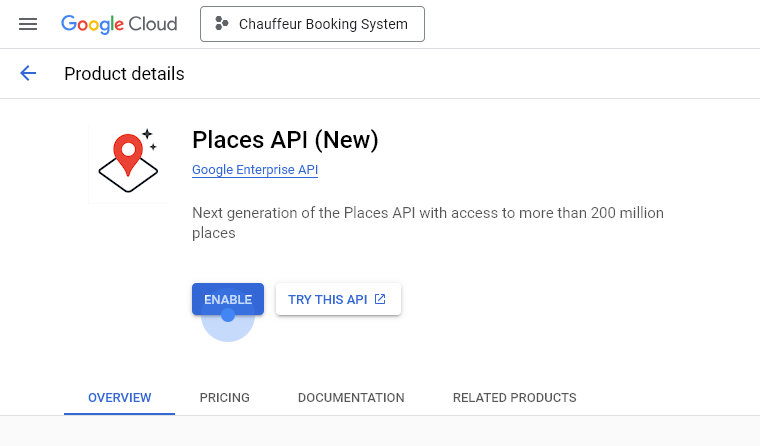
- Places API (New) – See screenshot.
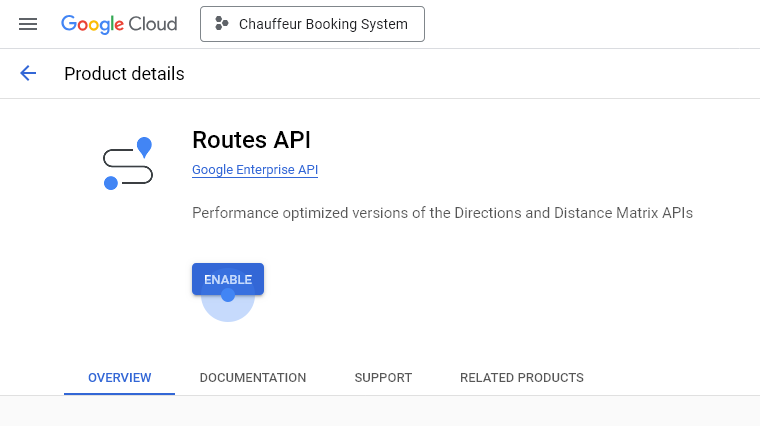
- Routes API – See screenshot.
- Click on each API and then click ‘Enable’.
- After enabling the first API, Google will prompt you to create a Billing Account if one has not been set up.
- Choose a ‘Billing Account Name’ and select the ‘Currency’.
- In the next step, select a ‘Billing Profile’ and ‘Payment Method’ (e.g., a card linked to your account).
- Google will attempt to verify your account and will charge 0.00 for verification.
Important Update as of March 12, 2025!
Due to recent changes made by Google, you now need to enable both the “Places API (New)” and the legacy “Places API” in your Google Cloud Console. This is necessary to fix the “Places API error: ApiNotActivatedMapError”. You can enable the Places API (Legacy) through this direct link.
Create an API Key
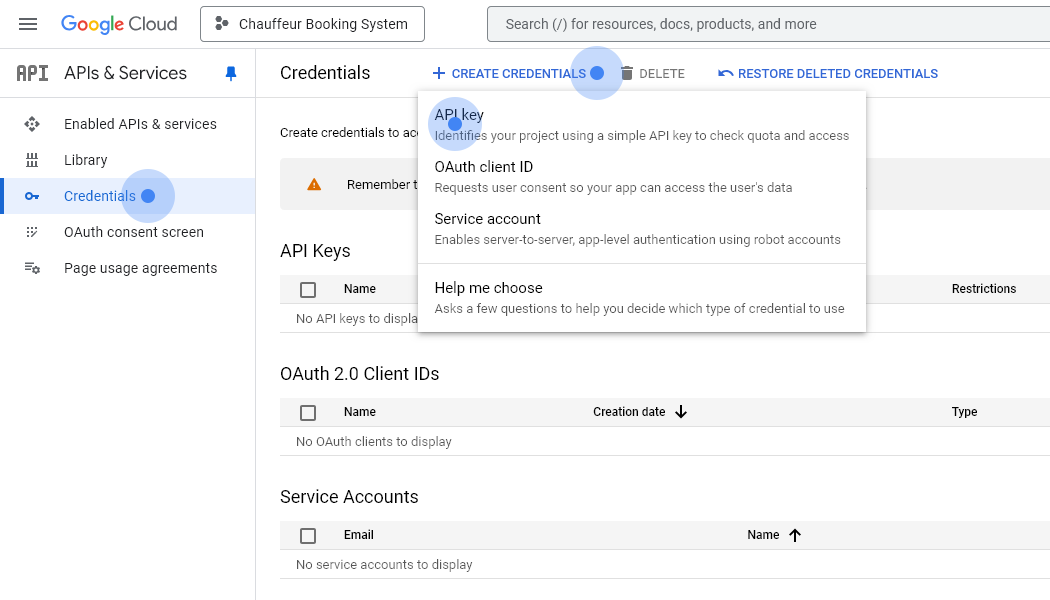
- Navigate to ‘APIs & Services’ -> ‘Credentials’.
- Click ‘Create Credentials’ and select ‘API Key’ – See screenshot.
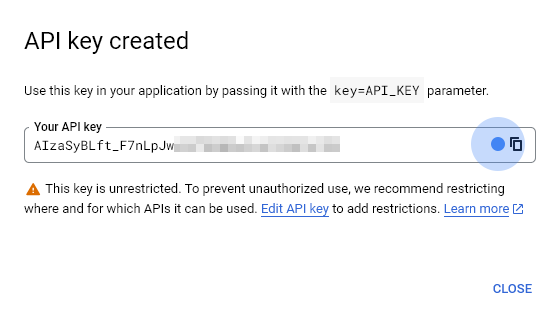
- Your new API key will be generated. Copy it for later use – See screenshot.
Restrict the API Key
- In the ‘Credentials’ section, locate your newly created API key.
- Click on the key name to edit it – See screenshot.
- Under ‘Application restrictions’, select ‘Websites’, and click ‘Add’.
- In the ‘Website’ field, add your domain(s), e.g.,:
https://yourdomain.com/*https://sub.yourdomain.com/*
- Under ‘API restrictions’, select ‘Restrict key’.
- From the dropdown, check the following APIs:
- Geocoding API
- Maps JavaScript API
- Places API (New)
- Places API
- Routes API
- Click ‘Save’.
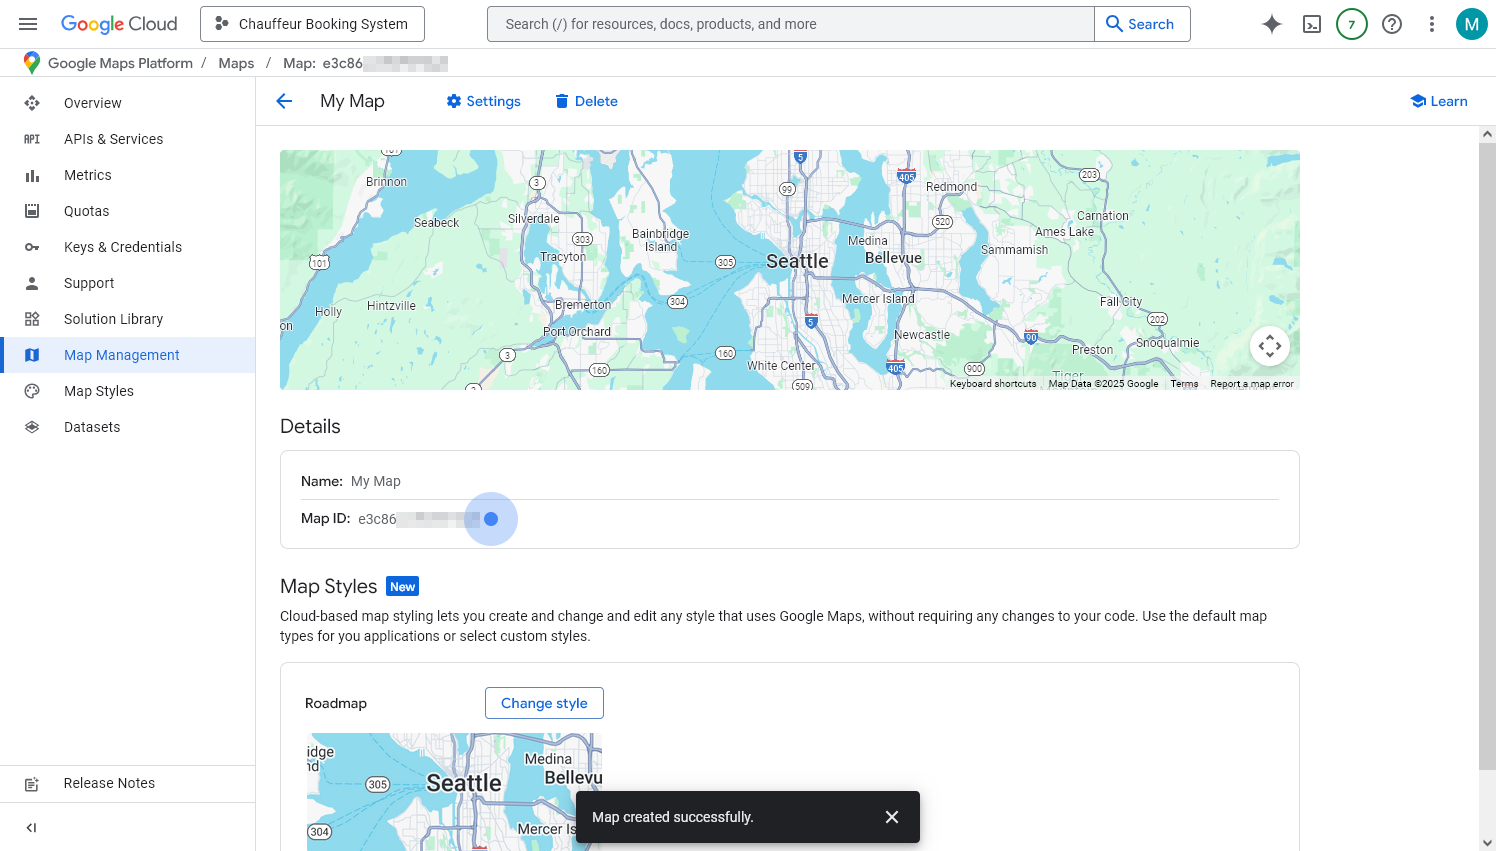
Create a Map ID
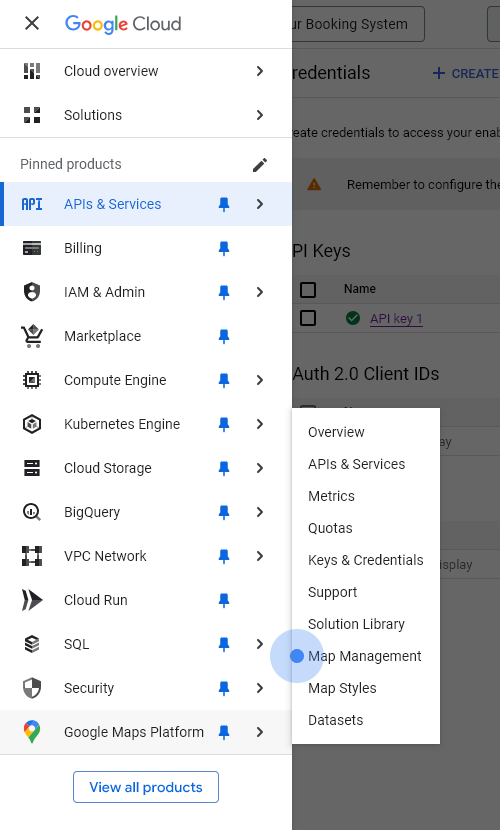
- Navigate to ‘Google Maps Platform’ -> ‘Map Management’ – See screenshot.
- Click ‘Create Map ID’ – See screenshot.
- Enter a ‘Name’ for the Map ID.
- Select the ‘Map Type:’ JavaScript, Raster
- Click ‘Save’.
- Your Map ID will be generated. Copy it for later use – See screenshot.
Integrating the API Key with Chauffeur Taxi Booking Plugin
Good to Know
After generating your API key, please note that it may take 15–20 minutes for the key to become active. During this time, the key will not yet function correctly. Ensure that you wait for the activation process to complete before proceeding with integrating the key into the Chauffeur Taxi Booking Plugin.
- Navigate to ‘Settings’ -> ‘Chauffeur Booking System’ in your WordPress dashboard.
- Go to the ‘General’ -> ‘Google Maps’ tab.
- Paste your Google Maps API Key into the ‘Google Maps API Key’ field.
- Paste your Map ID into the ‘Google Maps ID’ field.
- Click ‘Save Changes’ button to apply the settings.
Summary
Document version: 1.2
Last updated: March 14, 2025
Plugin version: 8.4+