Google Calendar Integration
In this step-by-step guide, we’ll walk you through the process of integrating your booking system with Google Calendar. The process consists of four stages. Creating a service account in Google Cloud, creating a calendar in Google Calendar, generating JSON code and configuring the Chauffeur Taxi Booking System plugin.
Create Google Service Account
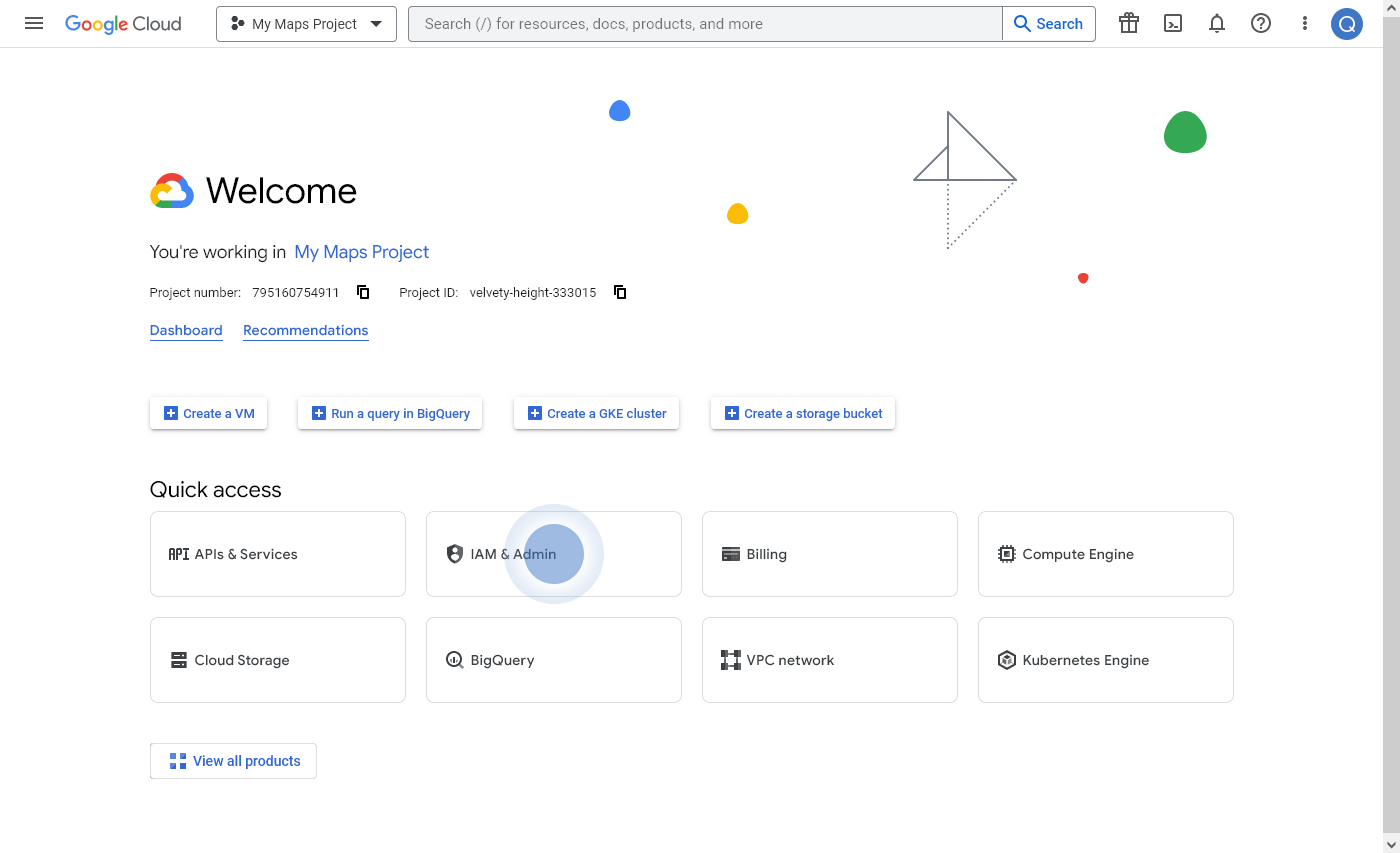
Log in to your Google account. Open the Google Cloud page at https://console.cloud.google.com (if you are not logged in, Google will prompt you to log in). Click on the ‘IAM & Admin’ button.
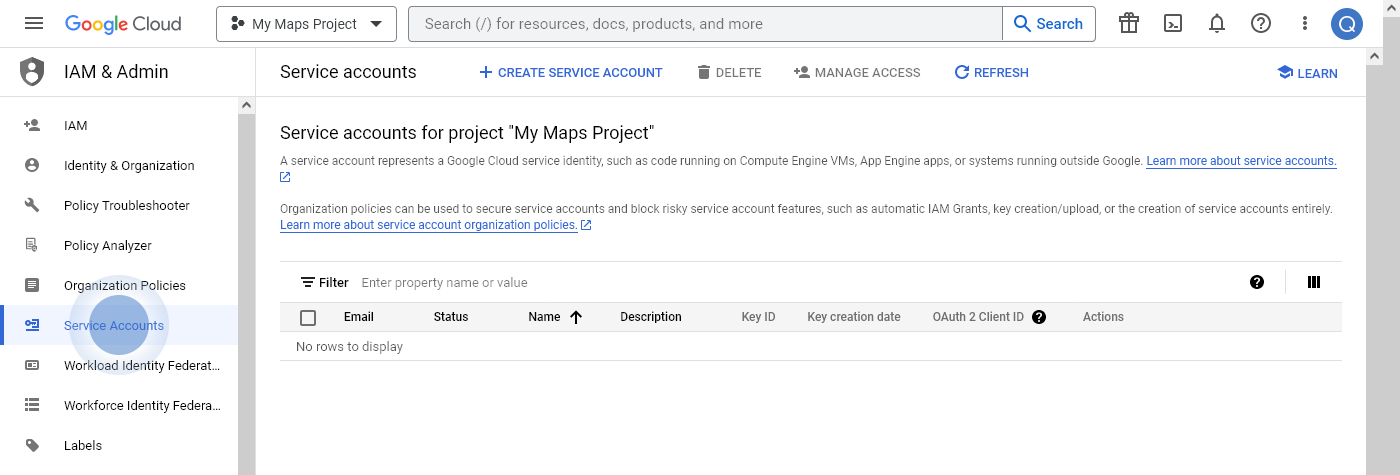
From the left menu, select ‘Service Accounts’.
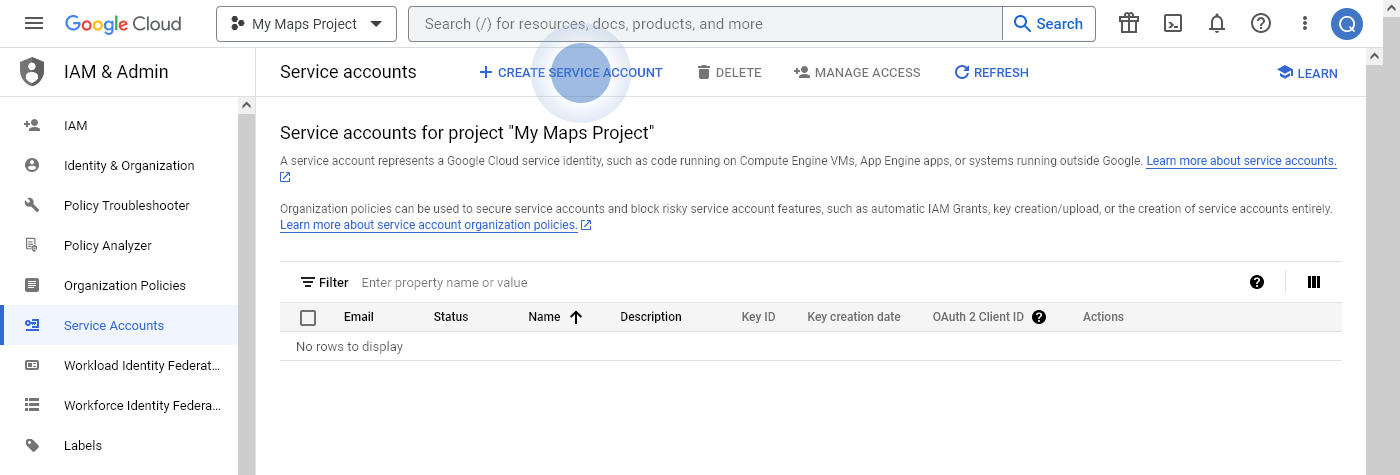
Click the ‘+ Create Service Account’ button.
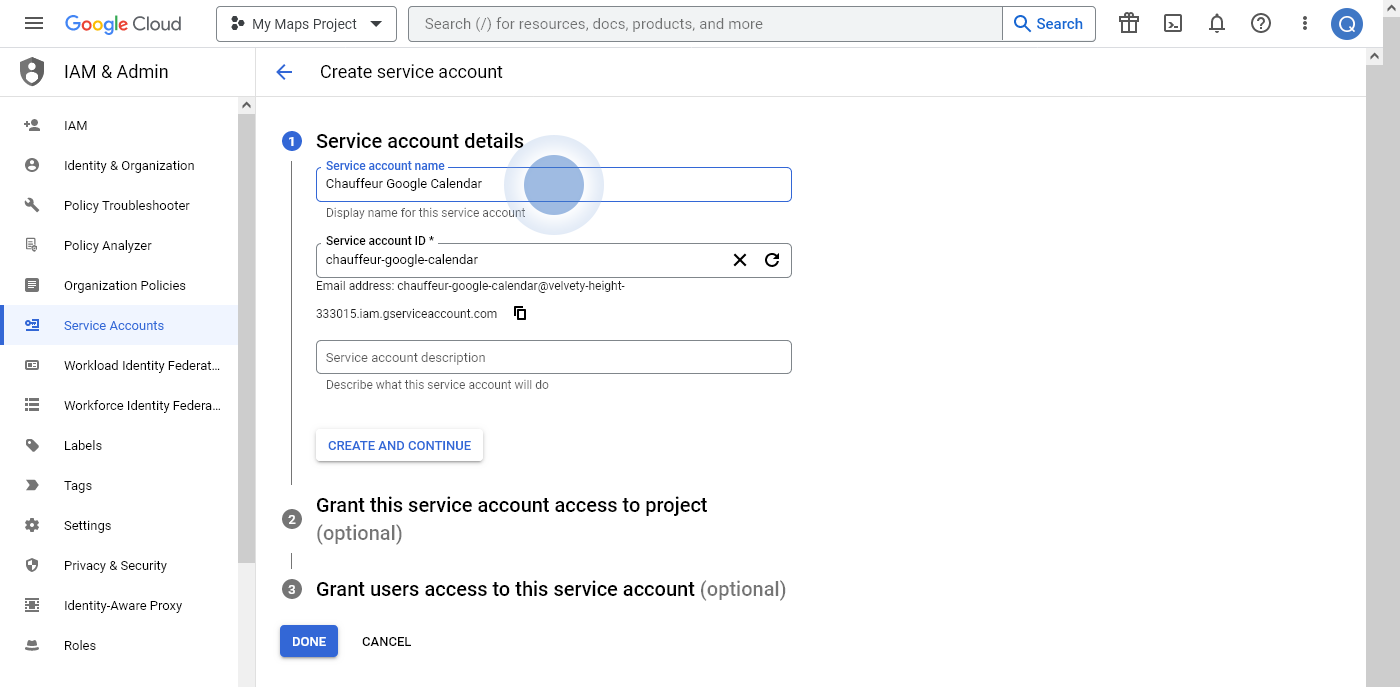
Enter a name for the service account and click ‘Done’.
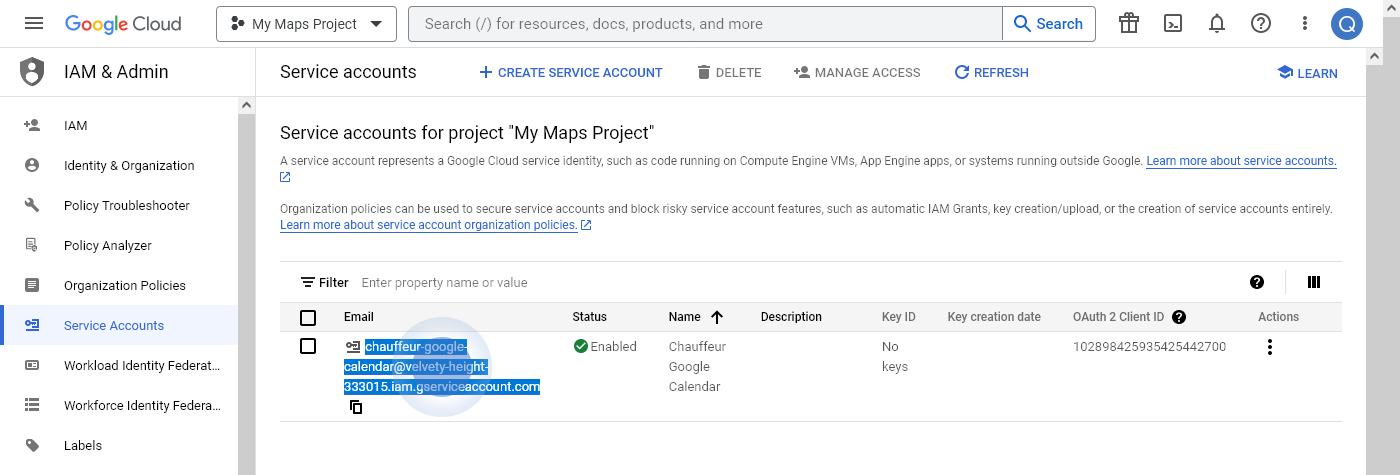
Copy the generated email address; we will need it later.
Do not close Google Cloud page for now; we will return to it later.
Create Google Calendar
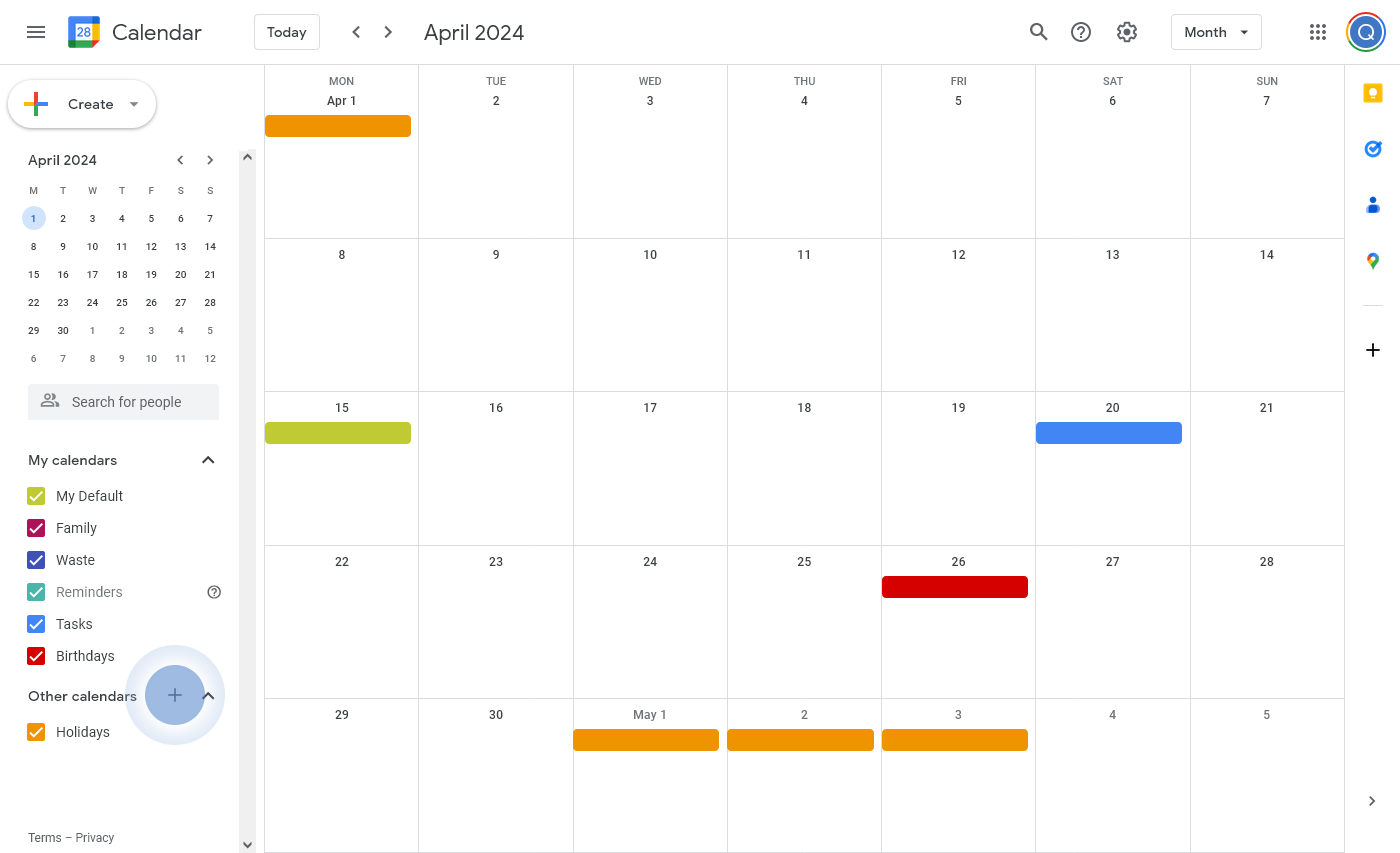
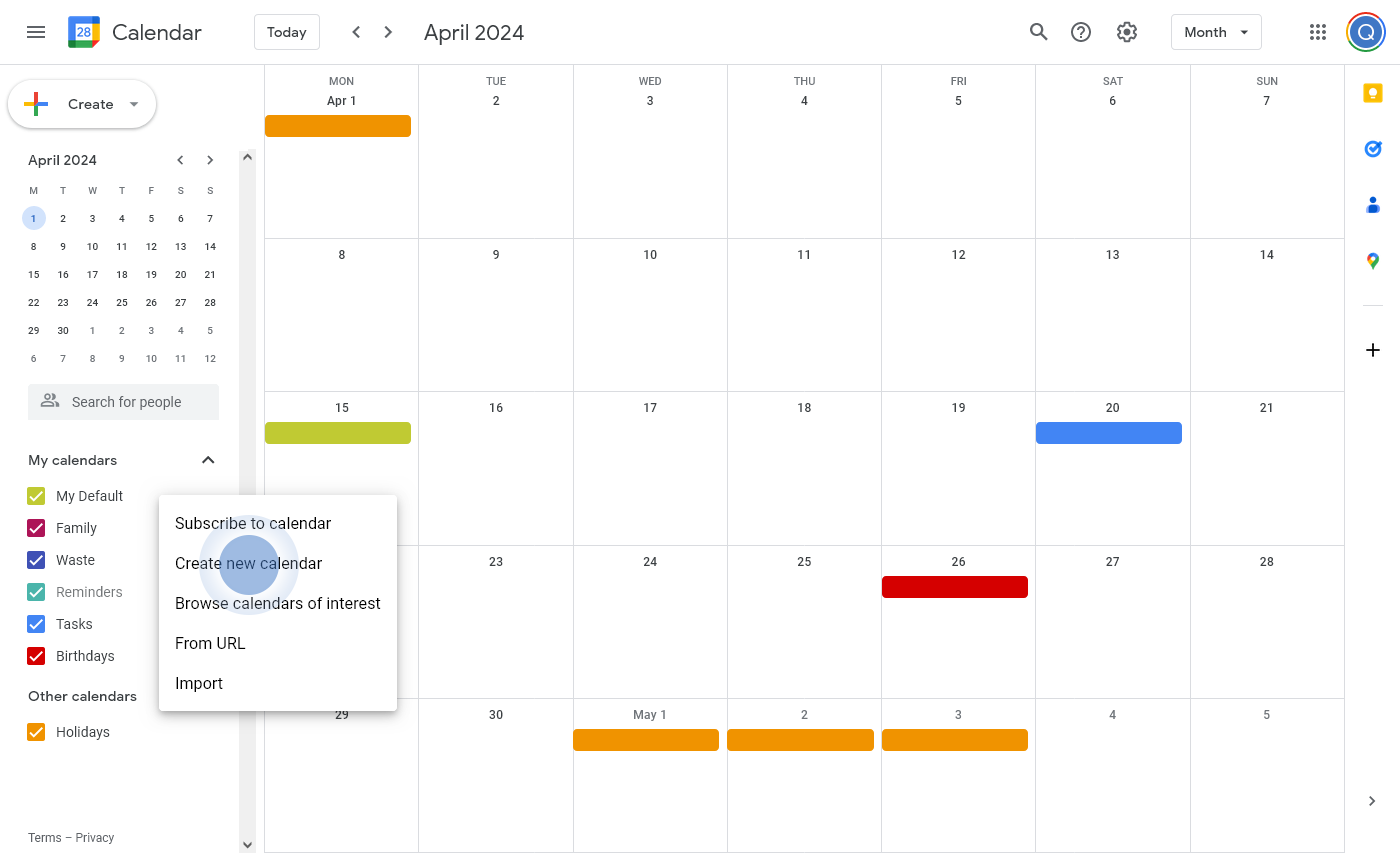
Open the Google Calendar page at https://calendar.google.com. From the left menu, select ‘Add Other Calendars’ by clicking on the plus icon, and then choose ‘Create New Calendar’ from the dropdown menu.
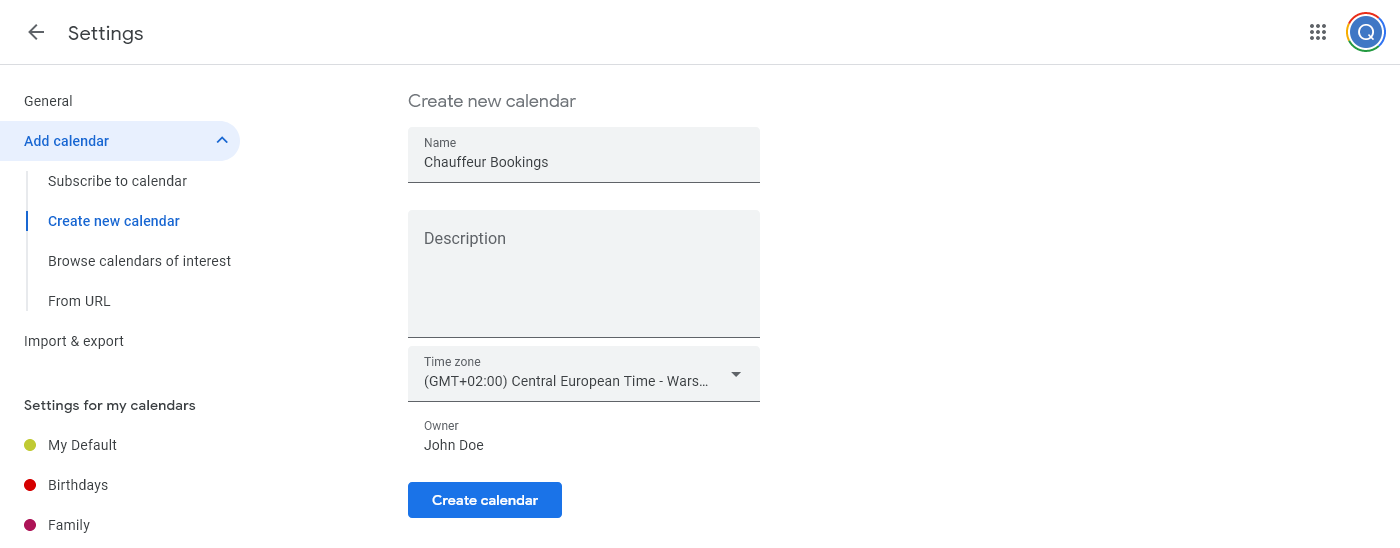
Provide a name for the calendar, an optional description, and click ‘Create Calendar’.
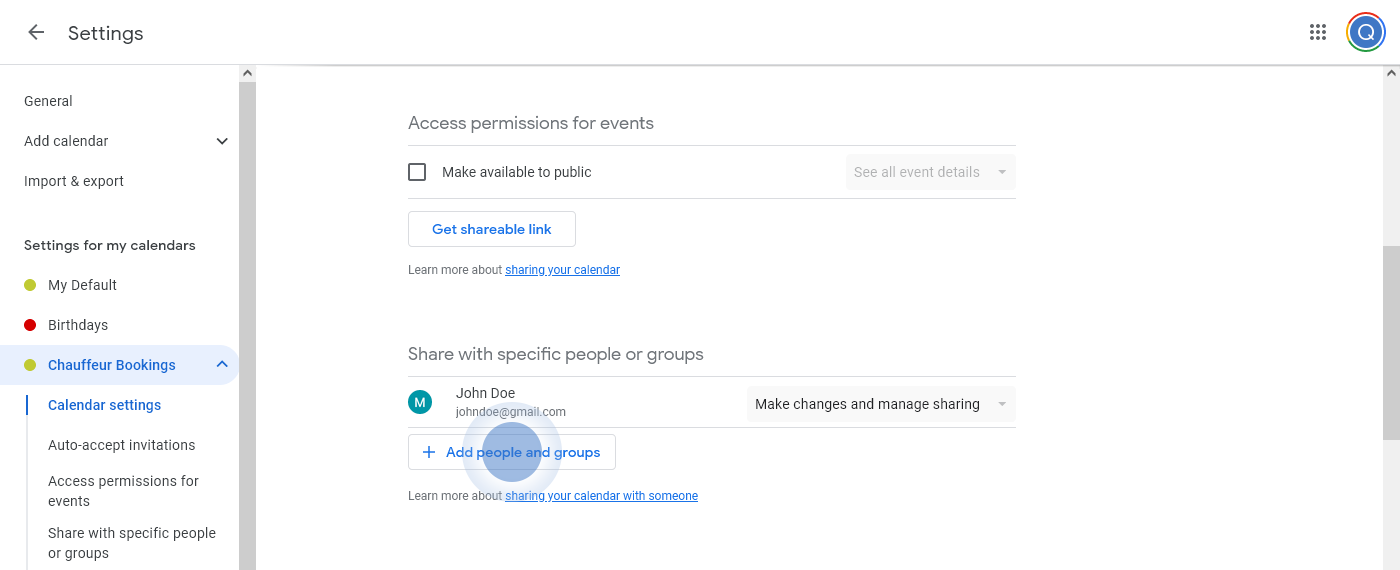
You will be immediately redirected to the settings page for this calendar. If not, simply select the newly created calendar from the left menu and go to ‘Calendar Settings’. Scroll down to the ‘Share With Specific People or Groups’ section and click the ‘+ Add People and Groups’ button.
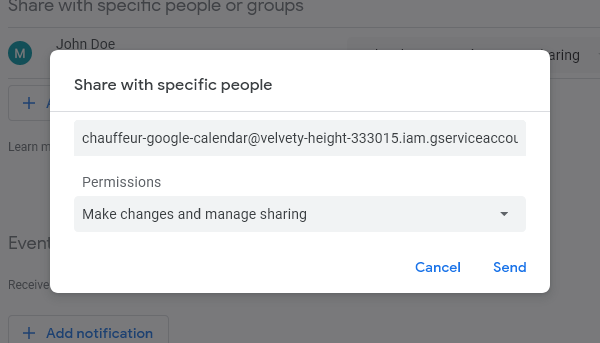
A modal window will appear; in the first field, paste the email address you copied earlier (from Google Cloud). From the list of permissions, select ‘Make Changes and Manage Sharing’ and click ‘Send’.
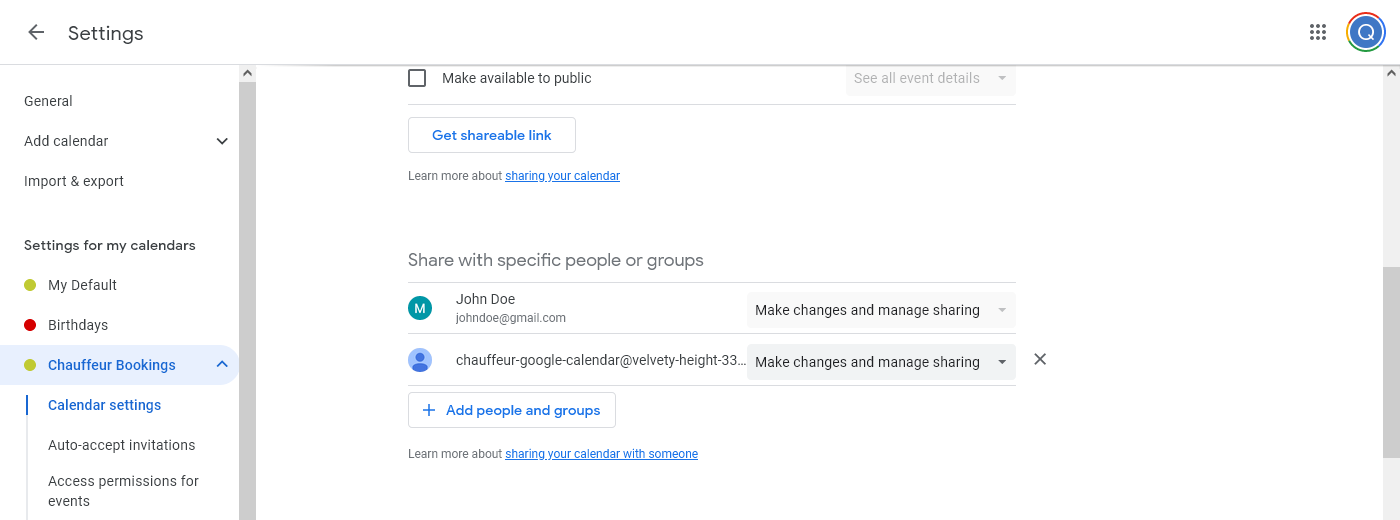
As you can see, the previously generated service account has access to this calendar.
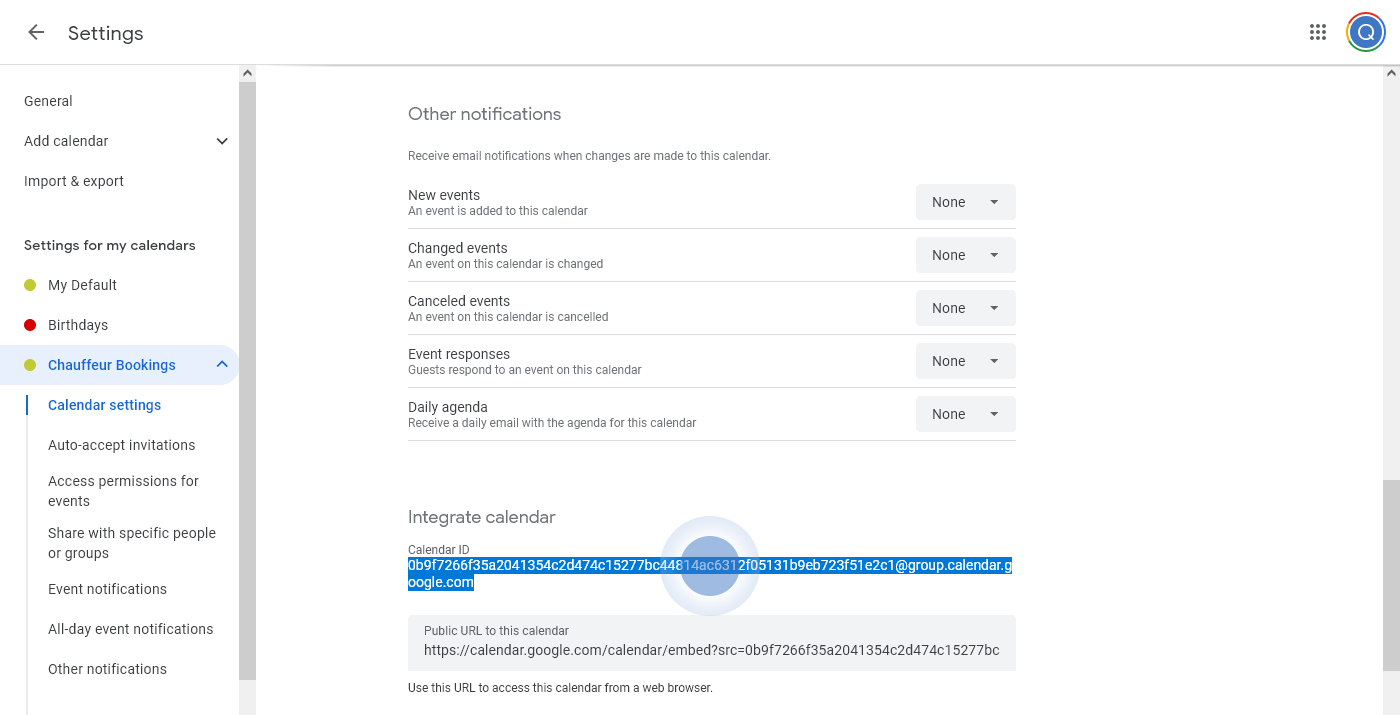
Scroll down to find the ‘Calendar ID’ – we will need this key later, so copy it – this is your ‘Calendar ID’.
Generate JSON
At this point, we will generate JSON code. Return to the Service accounts page you left open in Google Cloud. Click the three dots icon (Actions) and choose ‘Manage Keys’ from the list.
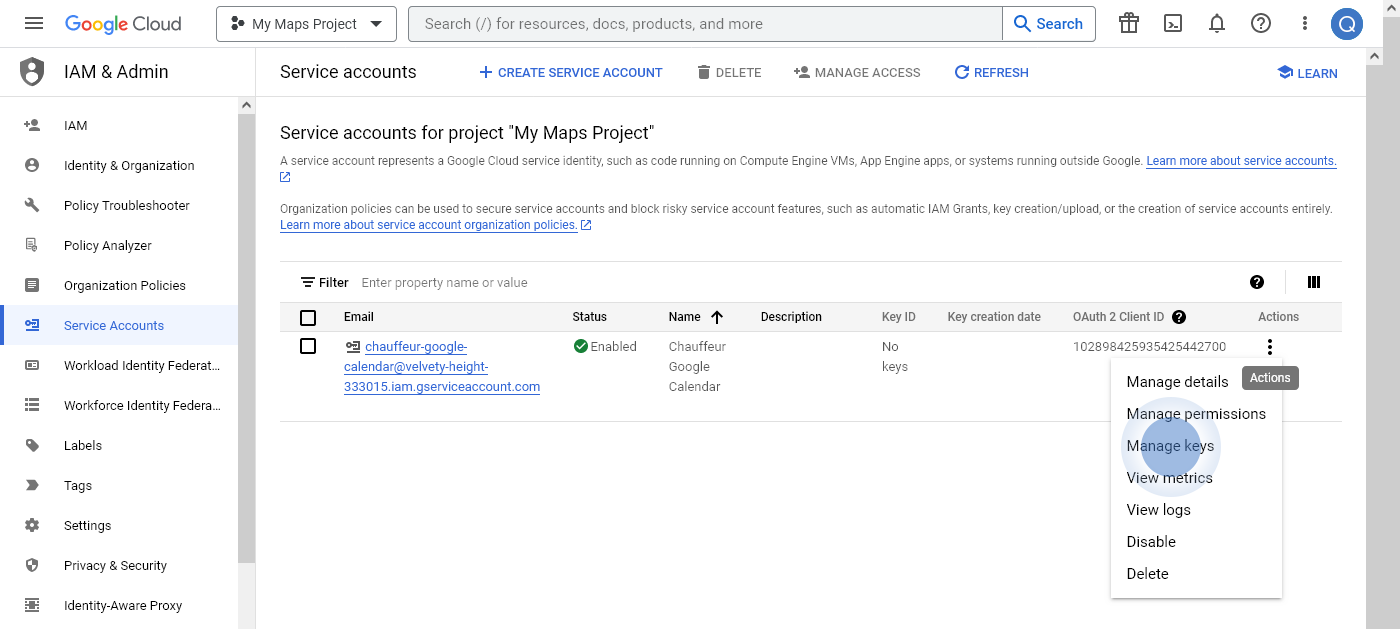
A new ‘Keys’ page will open; click the ‘Add Key’ button and select ‘Create New Key’.
A modal window will appear; choose ‘JSON’ as the key type and click ‘Create’.
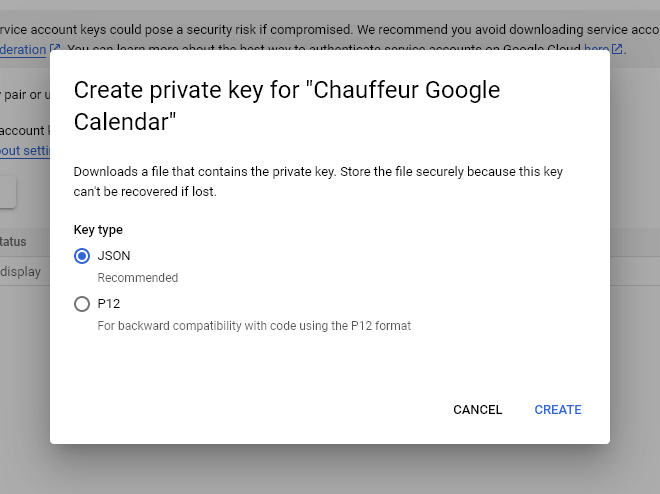
After a moment, a file save window will appear with a .json file. Save this file to your computer’s disk, and then close ‘Private Key Saved to Your Computer’ prompt.
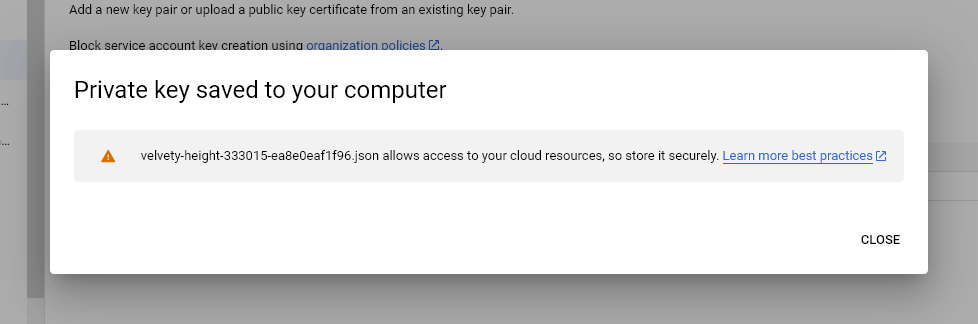
Open the previously generated file (e.g., with a text editor) – select the entire contents of the file and copy it – this is your ‘JSON Code’.
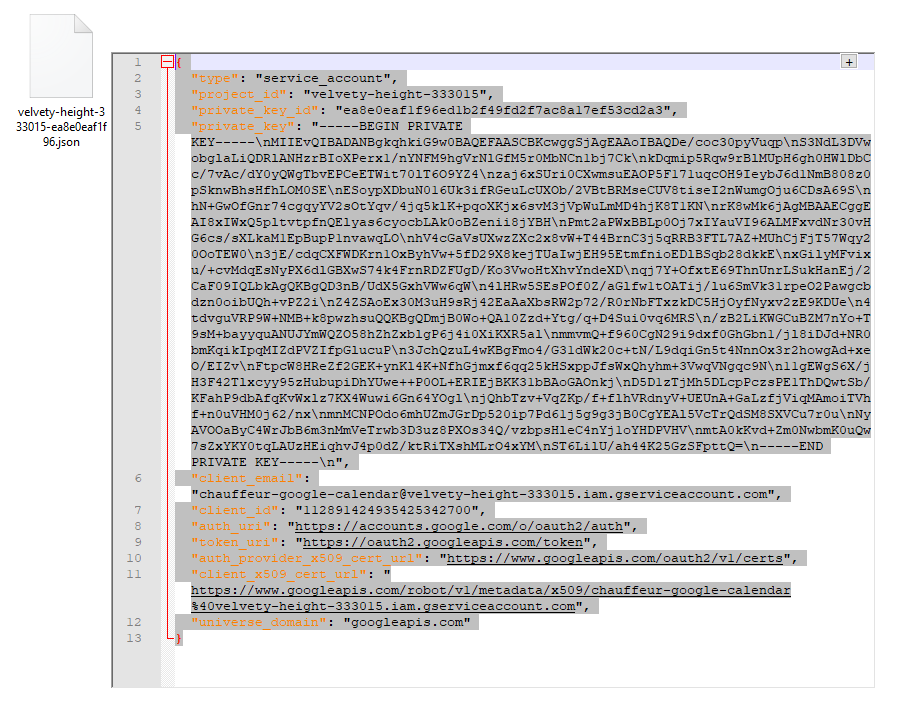
Configure Chauffeur Booking Plugin
Go to your WordPress admin, navigate to the ‘Chauffeur Booking System’ -> ‘Booking Forms’ menu, click on the desired form, and then go to the ‘Google Calendar’ tab. Fill in the following:
Google Calendar
Set ‘Enable’ to activate Google Calendar integration.
ID
Paste the previously copied ‘Calendar ID’.
Settings
Paste the previously copied ‘JSON Code’.
Regenerate Token
Leave the ‘Enable’ option.
Adding Event
In this section, specify when a particular booking should be added to the calendar. The ‘Sending the booking’ option means the reservation will be added to the calendar immediately upon booking. The ‘Updating’ options mean the reservation will be added to the calendar only when its status changes according to the selected setting.
Save your settings by clicking ‘Update’. Congratulations, you have just connected your booking system with your calendar!
FAQ – Frequently Asked Questions
1. The Calendar Isn’t Working Despite Following the Documentation. What Now?
If the calendar is not functioning, ensure that the necessary API is enabled for your project. Some Cloud APIs are not enabled by default and require manual activation.
To enable an API for a project using the console:
- Go to the Google Cloud Console API Library.
- Select the project you wish to use.
- Find the API you need using the search field.
- Click ‘Enable’ on the API page.
2. It’s Still Not Working. What Else Can I Check?
Go to your WordPress admin, navigate to the ‘Settings’ -> ‘Chauffeur Booking System’ -> ‘Log Manager’ menu, and go to the ‘Google Calendar’ tab. Here, you will find the error log related to the calendar. Check for any errors listed, and if present, follow the provided instructions to resolve them.
3. Can I Edit/Delete a Booking in the Calendar, and Will It Reflect in the ‘Bookings’ Menu in the Plugin?
No, synchronization with the calendar is one-way, from the plugin to the calendar. Any modifications made directly in the calendar will not be reflected in the Chauffeur Booking System plugin.
Summary
Document version: 1.2
Last updated: October 14, 2024
Plugin version: 6.8+